Are you going on a cruise and looking for some creative cruise duck ideas?
If you don’t want to opt for the classic rubber ducks, you can decide to make them by hand.
It will be fun, especially for those who want to make them with children.
In this article, I’ve included 10 ideas suitable for everyone, from the simplest to the most elaborate ones.
1. Paper Cup Ducks
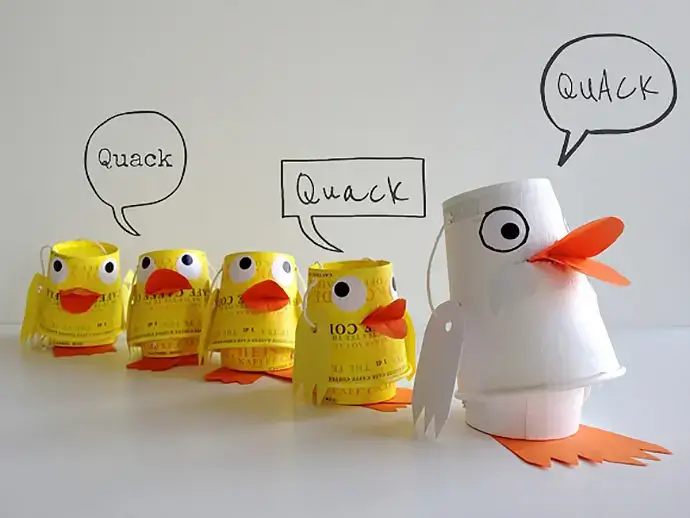
The first idea is very simple and easy to realize. You just need some paper cups in the size that you prefer.
To realize the duck use a cup on the bottom and place another one upside down on top. With the two cups one on the other, you will have the duck’s body.
Then proceed with the decorations. Add the legs, the beak, and the wings.
2. Kinder Egg Duck

I know that in the US they don’t sell Kinder Eggs, but that yellow plastic container is just perfect to use as a body for a handmade duck.
You can use it if you live in a country where you can find Kinder Eggs or, as an alternative, you can use a plastic piece that could fit.
Just be creative…it doesn’t have to be a standard duck to be beautiful!
3. Origami Duck
I’ve always been fascinated by origami but I’ve never learnt the technique to do them. This could be the right opportunity to learn how to make an origami duck.
I love this method because it’s easy to realize and you just need paper, and a pen to do the eyes.
4. Stone Ducks

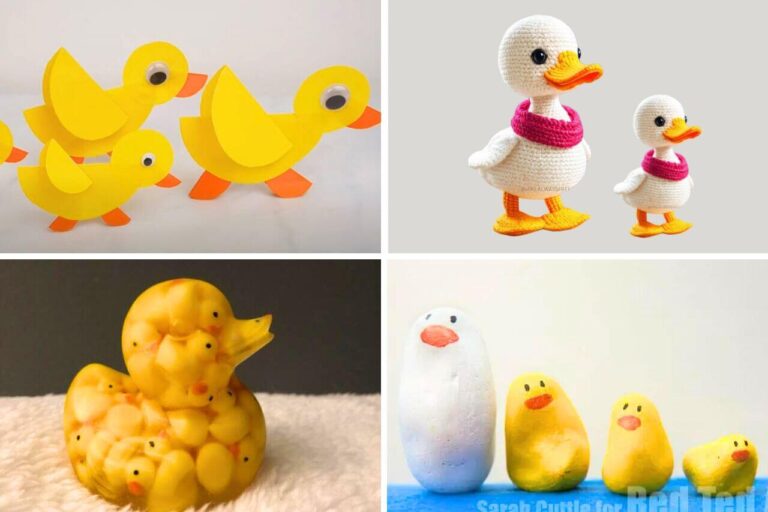
Look how cute this little stone duck family looks. I think it’s a great idea to realize cruise ducks too.
They are perfect to be hidden and are excellent to be transported because they do not deteriorate like the paper ones.
Another thing that I love about the stone ducks is that you can decorate them as you wish. Just find a yellow stone and every color will fit.
5. Paper Ducks
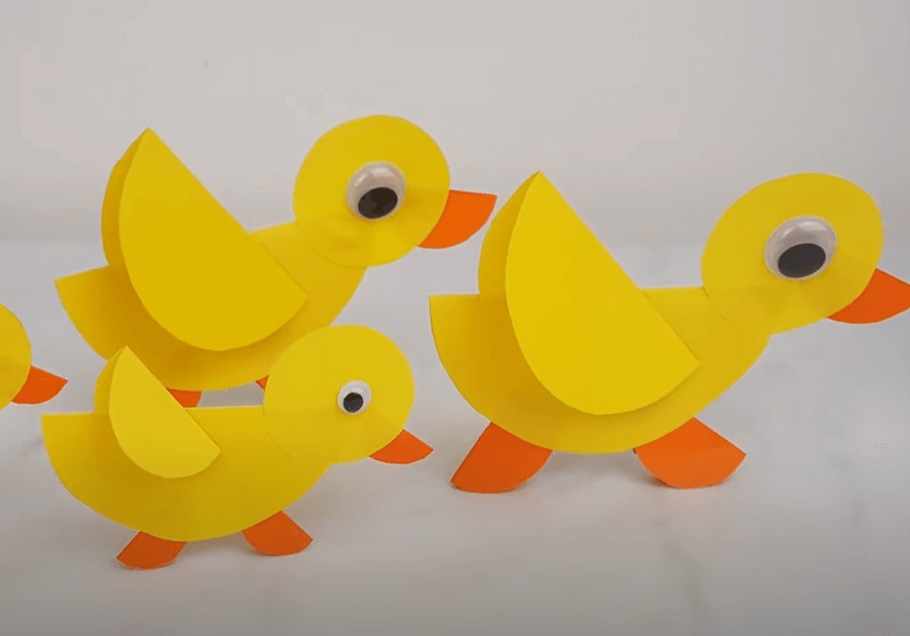
If you want to realize cruise duck with your kids, I think you can opt for the super easy paper ones.
You just need a few yellow and orange sheets. Firstly draw the outlines with a pencil and then carefully cut along the edges.
Then proceed making the legs and the beak. Carefully cut them too and glue them using glue or tape.
You can top it all off with plastic eyes if you have them, or you can easily draw them with a marker.
6. Crocket Duck
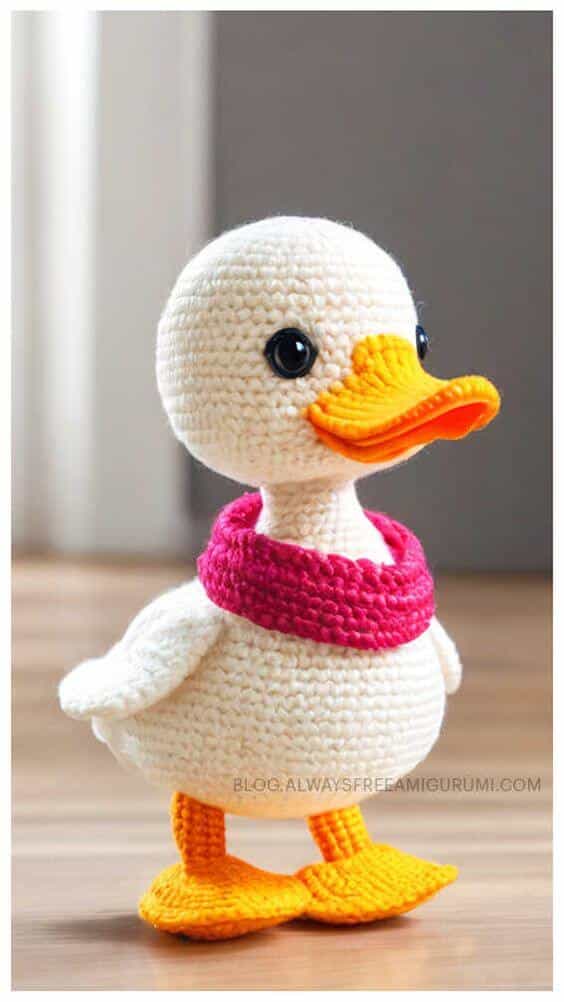
Let’s move on to the slightly more complex ones, like the crochet ducks.
I’ll tell you straight away that I can’t make them, therefore I am not even able to do a tutorial.
If you wanna realize it you can follow this tutorial, but let’s see the other ones first.
7. Clay Duck
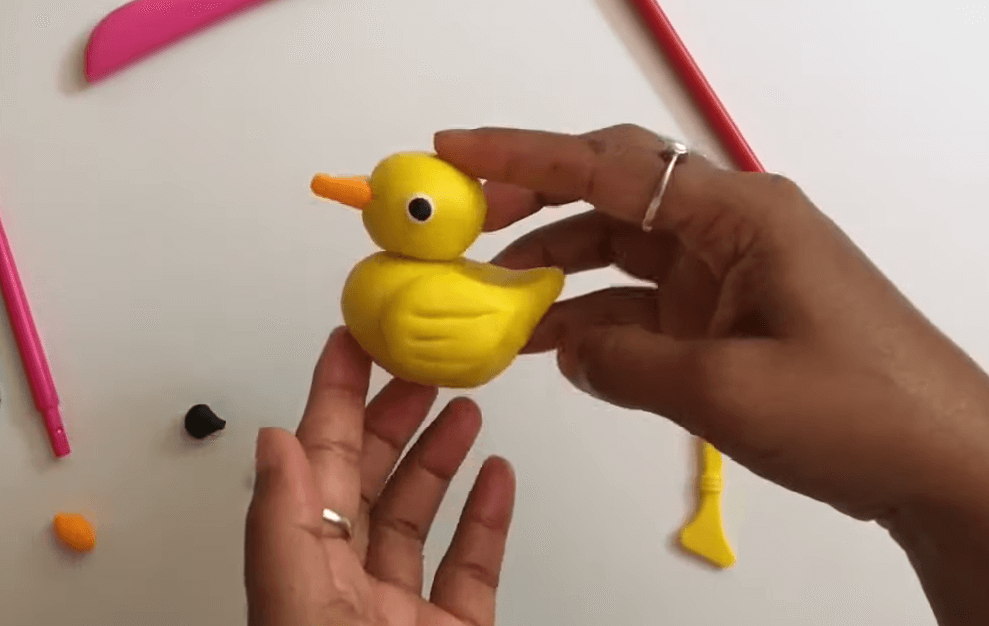
The clay ones are still quite easy to make. You just need yellow clay and a bit of orange one.
It doesn’t matter if you don’t have specific tools, a fork or a toothpick will do the work.
There should not be a problem in making the body shape, just do a bigger ball for the bottom part and then flatten it a little at the end.
Proceed with making a smaller ball for the head and place it on top of the bigger one. Use a toothpick to hold the two parts together.
Then add the beak and eyes to complete your little artwork.
8. Resin Rubber Duck Filled With Mini Yellow Ducks

This one is my absolute favorite! As you can see from the picture above it’s a big resin duck filled with mini yellow ducks.
How can you realize it? You will need a duck-shaped mold to realize this one.
Put the yellow mini ducks inside the mold and then pour the clear resin inside it. When the resin becomes solid remove the mold and you will see the little ducks showing through the bigger one.
It will need a bit of work but, in my opinion, the final result is wonderful!
9. Wollen Ducks
Another popular method is the one that uses wool.
I would say that these have a medium level of difficulty. The process is very similar to the one used for making pom-poms.
It’s quite difficult to describe it with words, but I will leave you a video below here that perfectly shows how they’re done!
10. Plaster Ducks
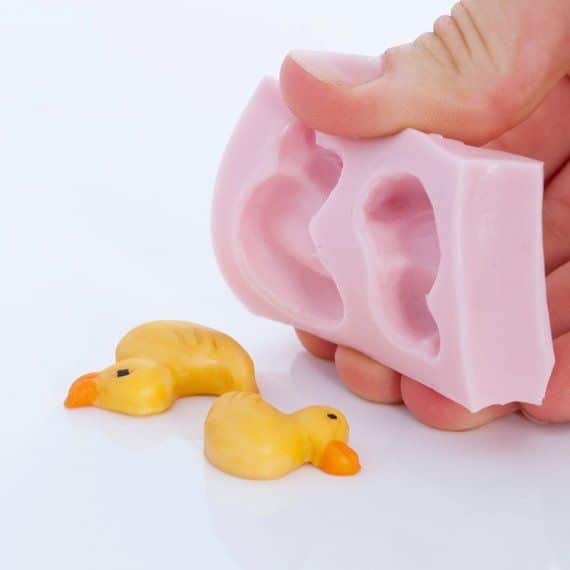
The last method I want to recommend involves the use of plaster.
Plaster is, in my opinion, a very simple material to use. It solidifies quickly and most importantly allows you to create completely white shapes.
This means that you can color them with every color you like, and children will love to do that too.
You will only need a duck-shaped mold and you can buy the plaster at any hardware store.
Remember to have fun and happy cruising duck hunt!
I have tried several of them but these are the most durable and sturdy.

